
How to Install Home Assistant in 2026: Choose the Right Method First
Home Assistant is one of the best ways to run a private smart home hub, but the installation path matters. The right choice depends on whether you want a dedicated appliance, a Docker service on an existing server, or a ready-to-run device with smart home, local AI, media, and backup tools already installed.
Key takeaways
- This page answers one concrete intent: how to install Home Assistant.
- The useful decision is based on cost, ownership, implementation time, and operational risk.
- The 2026 update adds first-hand editorial checks instead of only summarizing competitors.
- Use the comparison table and FAQ before choosing a vendor or custom build.
During rollout planning for ai home server, the recurring issue was not feature quantity but whether a buyer could verify limits, exports, integrations, and ownership before committing.
For most non-developers, Home Assistant OS is the cleanest route. For experienced Linux users, the container version is flexible. For people who want the system working without learning server administration, a preconfigured local server is often the simpler option.
Quick summary: - Home Assistant OS is the recommended path for a dedicated smart home hub. - Home Assistant Container is good if you already manage Docker services. - A mini PC is more reliable than a microSD-based setup for larger homes. - Add-ons, backups, Zigbee setup, and update discipline matter more than the first boot.
Installation Options in 2026
| Method | Best for | Add-ons | Difficulty | Main tradeoff |
|---|---|---|---|---|
| Home Assistant OS | Most users and dedicated devices | Yes | Low | Device is mainly for Home Assistant. |
| Home Assistant Container | Linux and Docker users | No | Medium | Flexible, but no Supervisor add-ons. |
| Home Assistant Core | Developers | No | High | More manual maintenance. |
| Ready-to-run local server | Users who want a configured box | Depends on build | Low | Less DIY control, faster start. |
If you are starting from scratch, choose Home Assistant OS unless you already have a reason not to. It gives you Supervisor, add-ons, backups, updates, and a simpler recovery path.
Hardware: Raspberry Pi or Mini PC?
A Raspberry Pi can run Home Assistant, especially for a small apartment and a limited number of devices. The weak point is usually storage. Smart home systems write logs, databases, and history, and microSD cards are not ideal for that workload.
A mini PC with an SSD is a better long-term choice when you have many devices, cameras, local AI, media services, or backup jobs. Common practical specs:
- 2 CPU cores for a small setup;
- 4 GB RAM for basic Home Assistant use;
- 8 GB RAM or more if you also run databases, media services, or local AI;
- SSD storage instead of microSD for reliability;
- wired Ethernet for the hub whenever possible.
For Zigbee or Z-Wave devices, use a supported USB coordinator and place it on a short USB extension cable to reduce interference.
How to Install Home Assistant OS
1. Download the Correct Image
Use the official Home Assistant installation page and choose the image for your device: Generic x86-64 for most mini PCs, or the correct Raspberry Pi model if you use a board.
2. Flash the Image
Write the image to the target drive with a tool such as Raspberry Pi Imager or balenaEtcher. If you are installing on a mini PC, confirm that the target disk is the correct one before writing.
3. Boot the Device
Connect Ethernet, power, and the target drive. Boot the device and wait for Home Assistant to prepare the system. On the same network, open:
http://homeassistant.local:8123
If local name resolution does not work, check your router for the device IP address and open port 8123 directly.
4. Create the First User and Backups
Create the owner account, set location and time zone, then configure backups before adding many devices. Backups are easier to set up before the system becomes critical.
5. Add Integrations Slowly
Start with one integration category: Zigbee, Wi-Fi devices, media players, or voice assistants. Add a few devices, name them clearly, and test automations before importing everything.
Docker Installation: When It Makes Sense
Home Assistant Container is a good choice if you already run Docker Compose and understand volumes, networking, updates, and logs. It is also useful when the same server runs other services.
A minimal Compose setup usually maps configuration to a persistent folder, uses host networking where appropriate, and sets the correct time zone. The tradeoff is that Supervisor add-ons are not available. You will manage companion services yourself as separate containers.
Choose Docker if you value control. Choose Home Assistant OS if you value appliance-style maintenance.
Where AI Home Server Fits
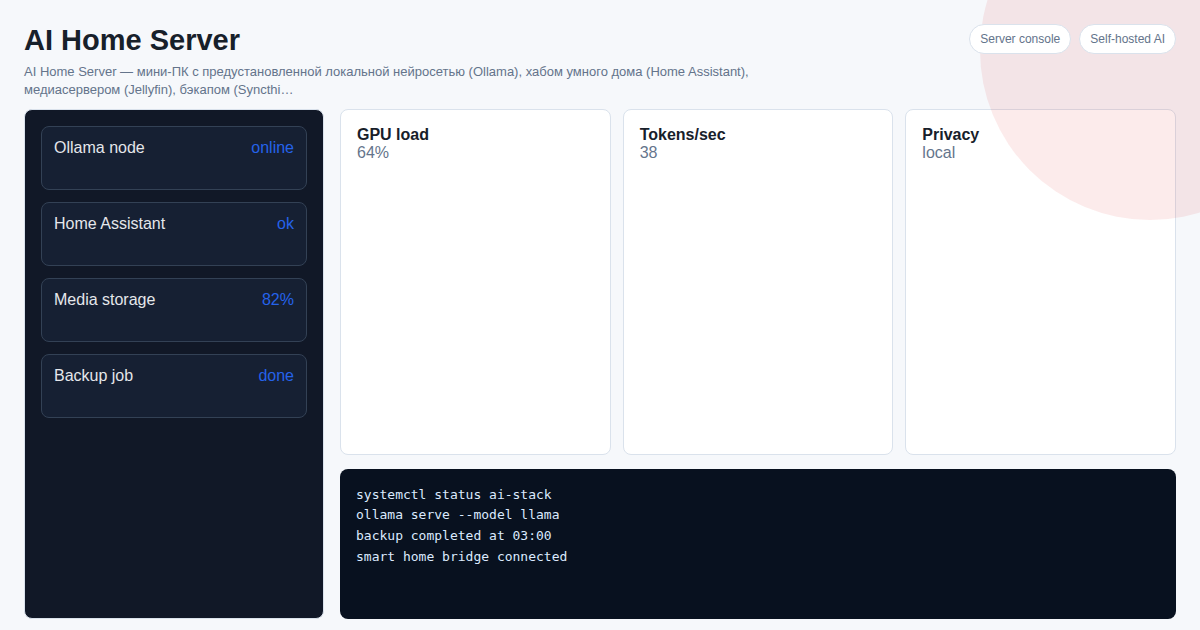
AI Home Server is a preconfigured local server concept: Home Assistant for smart home control, Ollama for local AI, Jellyfin for media, Syncthing for backups, and a Telegram bot for simple control workflows.
This approach is useful when the goal is not only "install Home Assistant" but "replace several cloud services with one private local box." It can be a good fit for:
- privacy-focused smart homes;
- small offices that want local automation and local AI;
- users who do not want to maintain Linux services manually;
- people moving from a fragile single-board setup to an SSD-based mini PC.
It is not the best fit for someone who wants to learn every layer by hand. In that case, build the stack yourself and document each service.
Common Mistakes
Installing on weak storage. A cheap microSD card can fail after months of database writes. Use an SSD for serious setups.
Adding every device at once. Bulk setup makes debugging painful. Add devices in groups and test automations as you go.
Ignoring backups. A smart home hub becomes infrastructure. Keep backups outside the device, not only on the same disk.
Depending on cloud integrations for critical routines. Whenever possible, keep lights, sensors, locks, and basic automations local.
Editorial Note
This English page was drafted with AI assistance and reviewed for onout.org. Installation details can change as Home Assistant updates its official methods, so final setup should be checked against the current Home Assistant documentation before flashing a device.
FAQ
Is Home Assistant OS better than Docker?
For most dedicated smart home hubs, yes. It is easier to maintain because it includes Supervisor, add-ons, backups, and update management. Docker is better for users who already manage containers.
Can Home Assistant run without internet?
Local integrations can work without internet, especially Zigbee, Z-Wave, Bluetooth, and local network devices. Cloud-based integrations still need external access.
Is a Raspberry Pi enough?
It can be enough for a small setup. For larger homes, cameras, local AI, or long-term reliability, a mini PC with SSD storage is usually a better choice.
Should I install everything myself or use a ready-to-run server?
Install it yourself if you want to learn and control every service. Use a ready-to-run server if the priority is a working local system with smart home, AI, media, and backup tools already configured.
Next Step
Choose the installation model before buying hardware. Dedicated hub: Home Assistant OS. Existing Linux server: Docker. Private local box with several services: a ready-to-run AI Home Server.
View the AI Home Server product page.
Discuss your how to install Home Assistant on Telegram or open the ai_home_server product page.
Sources
- https://onout.org/kak-ustanovit-home-assistant
- https://developers.google.com/search/docs/fundamentals/using-gen-ai-content
- https://developers.google.com/search/docs/fundamentals/seo-starter-guide
About the service "How to Install Home Assistant in 2026: OS, Docker, and Ready-to-Run Server"
A practical 2026 guide to installing Home Assistant: Home Assistant OS, Docker container, hardware choices, setup steps, and when a ready-to-run local server is simpler.